May 10th, 2009 — Uncategorised
Somebody asked me about the ashes I used for the potatoes. As you can see from the photos below they were not quite what I had anticipated.
Some nice person offered them to me from a friend of theirs who was burning palettes (though why they don’t re-use palettes I don’t know). Silly me, I didn’t realise they wouldn’t take the nails out of them. So in one trench I have a lot of nails around my spuds! I don’t see them doing that well I’m afraid as the spuds will probably grow with the nails inside them. By the time I had thought about it it was too late for them.
I must stop being lazy when digging and planting at the plot. Still, it’s an experiment I guess – and I will learn a valuable lesson when I have to take them out later in the year. 🙁

This is what they looked like when wet:
May 9th, 2009 — Uncategorised
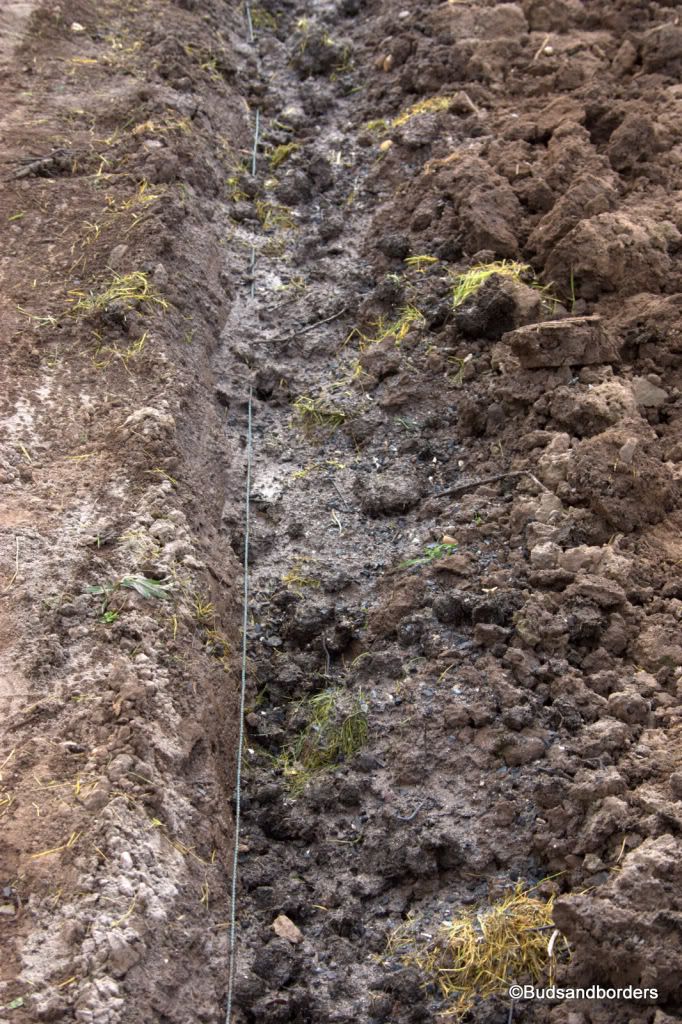
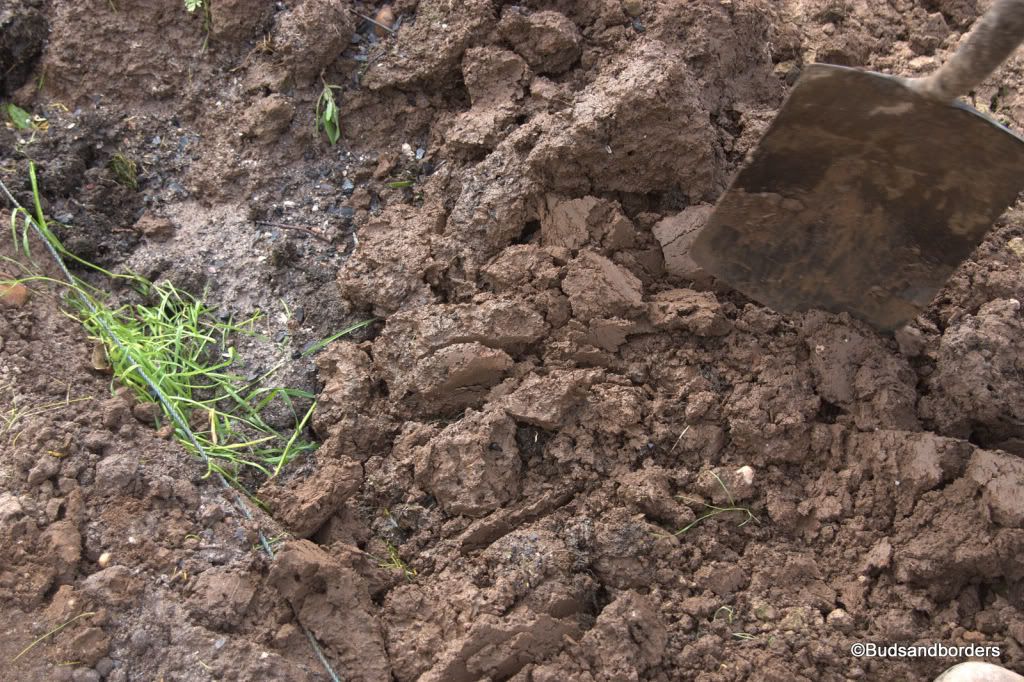
I dug another trench for my spuds today. As you can see from the photos below I dug it quite straight, but it wasn’t half heavy work as the soil may look dry on top, but it is not underneath. I’m only little so it’s back breaking work for me.
This is the trench I dug. You can see the ash and manure already on top of the spuds.
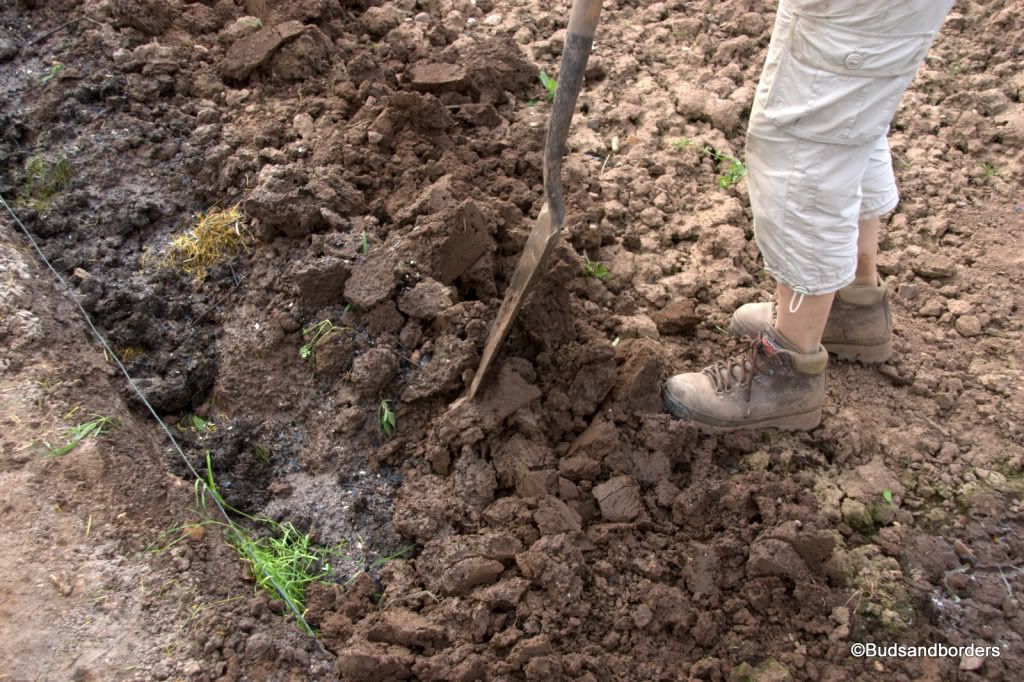
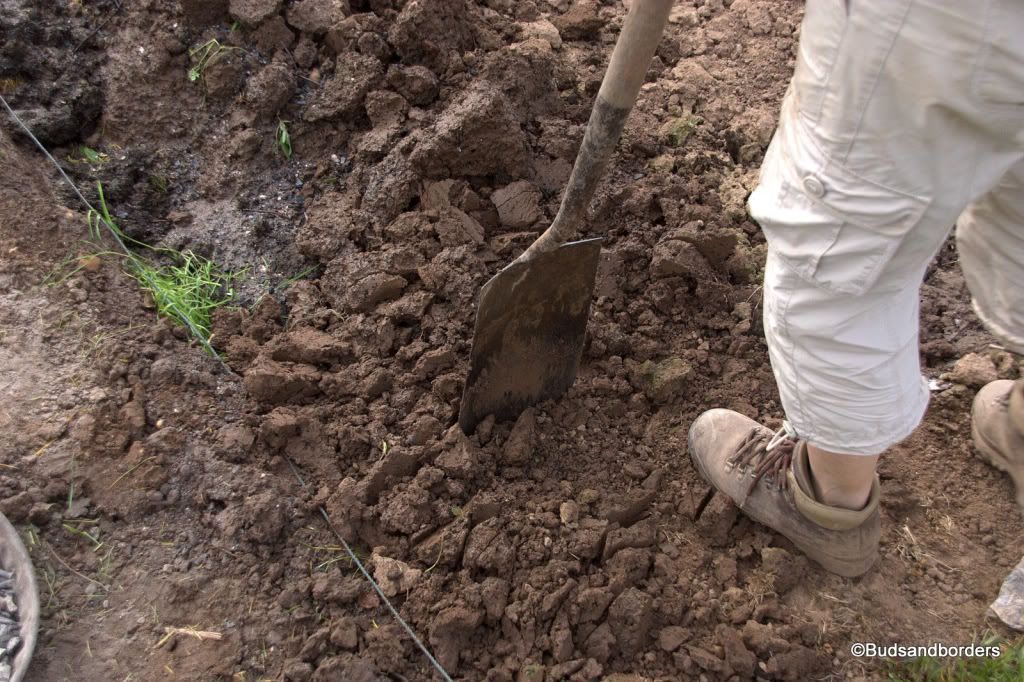
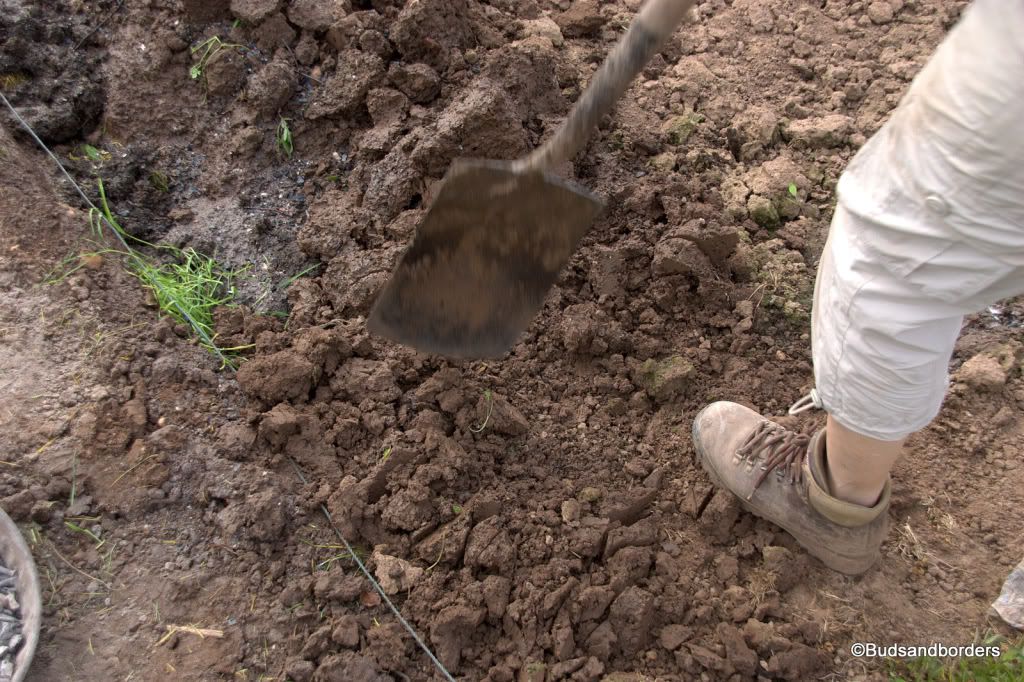
In this last picture I am backfilling the trench after covering the spuds with manure and ash.
May 3rd, 2009 — Uncategorised
I have been putting my spuds in this weekend. I have a few rows now.
The video below show the trench after I have put the spuds in and covered them with rotted manure and ash to help them grow.
[media id=82]
The next video show me backfilling the trench to cover them up. You can see that I am breaking up the topsoil as I go. This is much easier to do that than go through the hassle of rotavating. Although I may well do that next year as my back is not what it used to be, that or I have lost a little enthusiasm for digging.
[media id=83]
April 26th, 2009 — Uncategorised
Today I am planting out my potatoes. I am doing it later than everyone else this year as I’ve been way for a while. I’m not too worried though as it means I will have spuds later into the year than most.
They are Desiree and Cara.
I have also been potting out my Begonias and setting some courgette and basil seeds.
I was also thinking about my hanging baskets, but realised it is too early still. As you can tell, I’m getting excited about the summer coming.
April 22nd, 2009 — Uncategorised
Oh yes it is. I’m really hapy as I can now get out in the garden and plot to start the process again.
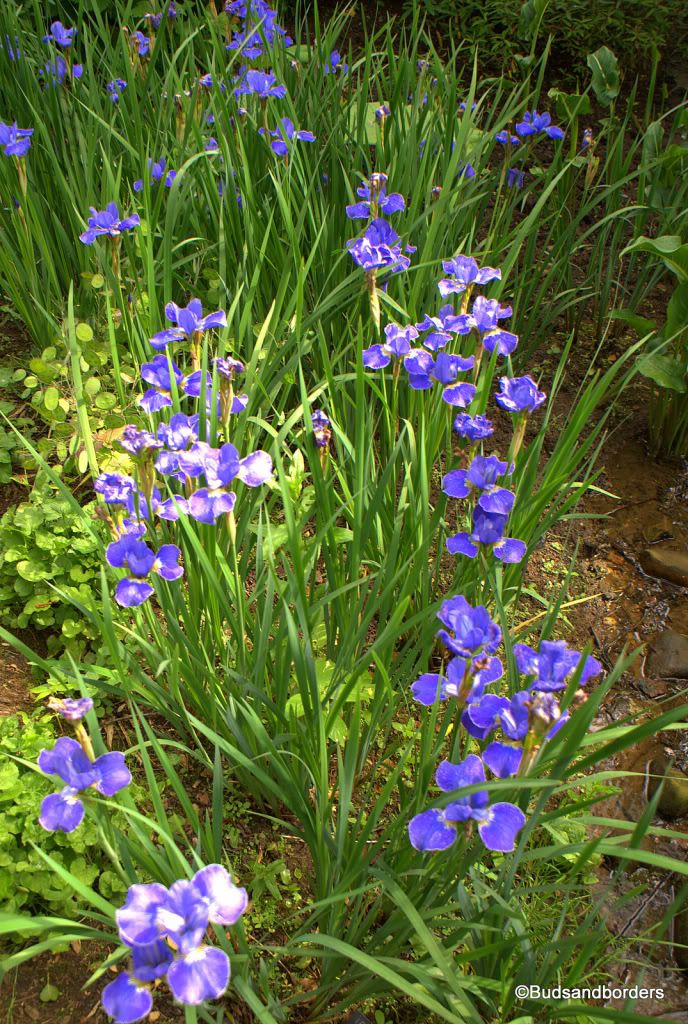
Here are a couple of pics from summer last year to keep you going until i get some of the latest ones up.
March 28th, 2009 — Uncategorised
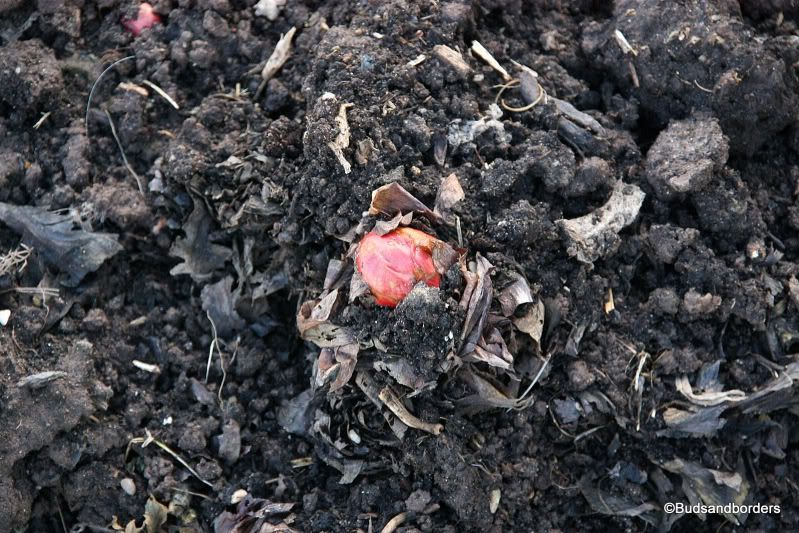
Actually there isn’t a lot to tell really. I have been busy in the garden rather than the plot. I did go up today to do the composting; I do have rather a lot, which is good for next month I guess. I’m looking forward to emptying them and starting again.
It’s been showers today, so I had to dodge them a bit as the soil can get rather sticky in the wet.
March 11th, 2009 — Uncategorised
I went up the allotment at the weekend and took a few photos of me doing the bits and bobs.
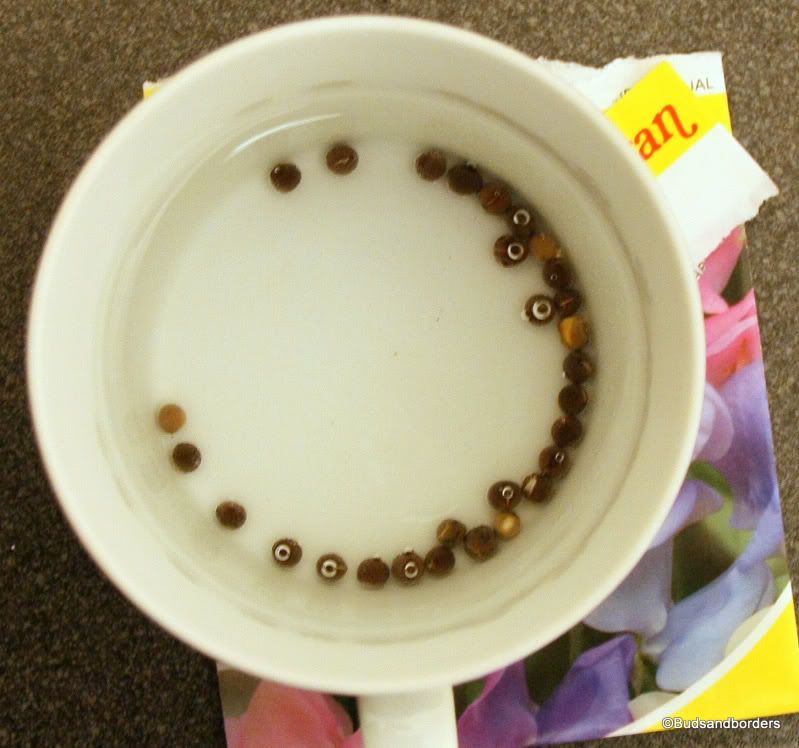
As you can see I also set some seeds after soaking them. Sweet Pea if you want to know. They have already started to germinate and I think they will be well on their way to a good height sooner rather than later.
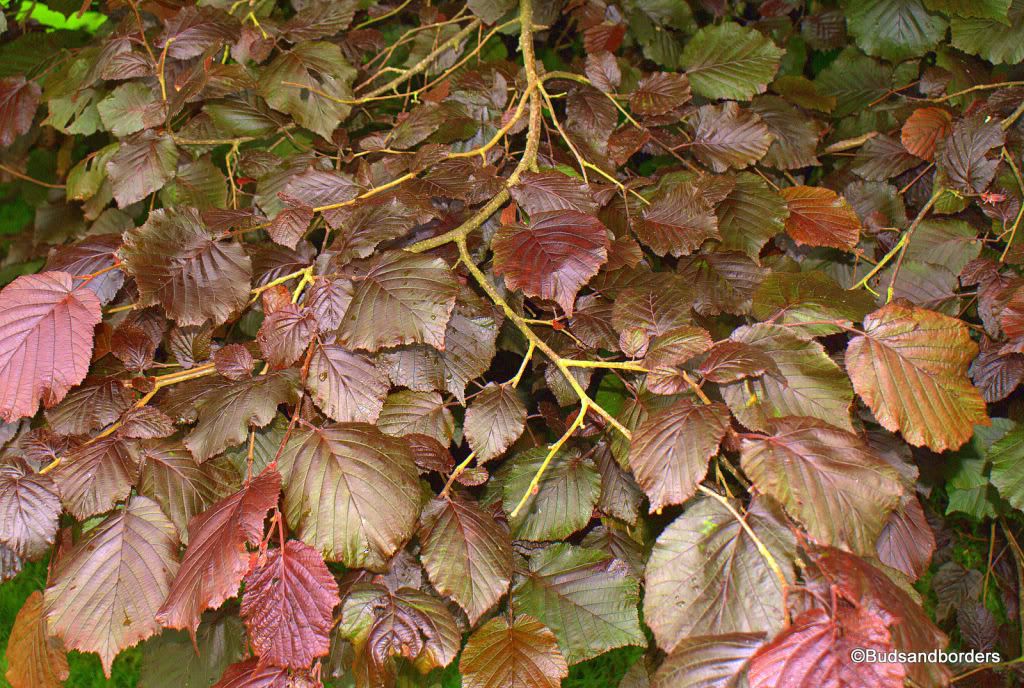
This is my blackberry bush – looking good for the future.

This is the Poached Egg plant, going to be ready for the bugs this year.
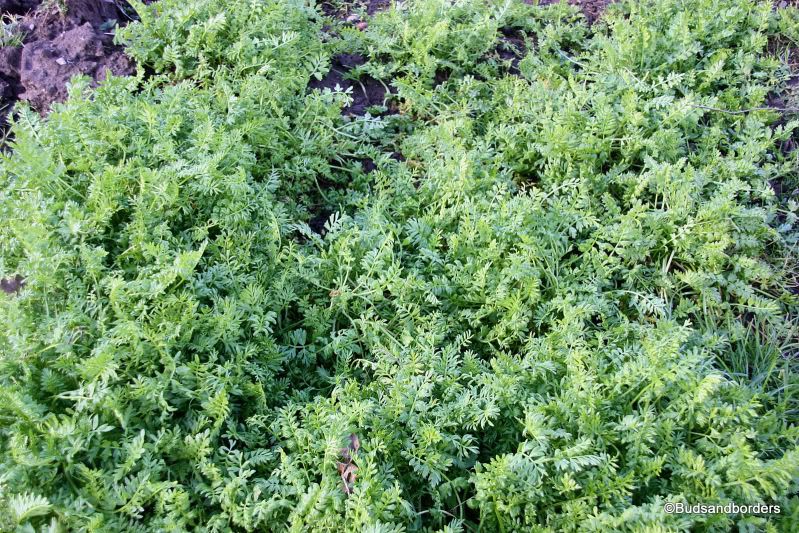
Rhubarb!!!!!
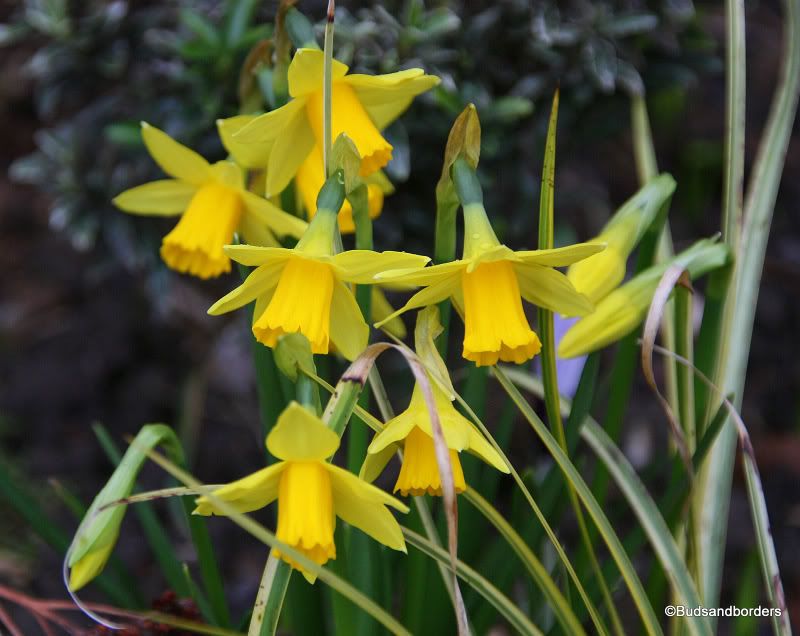
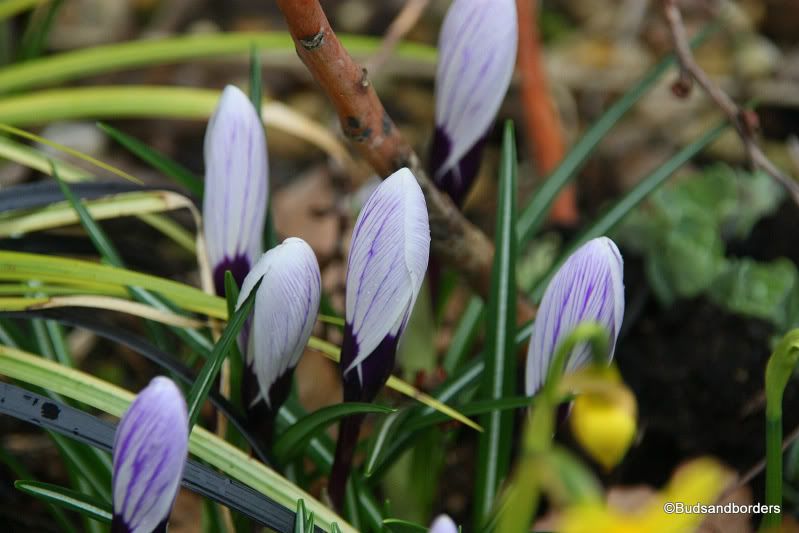
These last two are of the flowers in my garden. As you can see the t?te-a-t?te are coming through as are the crocus. I particularly like the crocus as they have an orange centre.
February 22nd, 2009 — Uncategorised
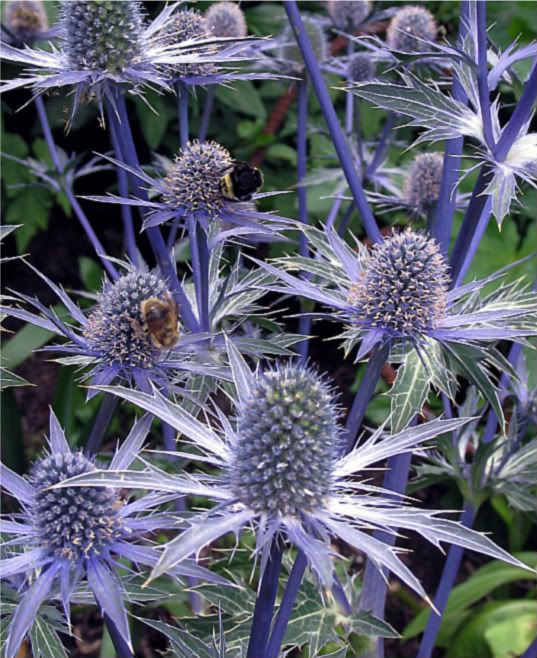
Today I am planting my Eryngium Alpine Sea Holly seeds.
They take between three and five months to germinate – which seems like an inordinate amount of time to me. However, they need to be kept in a plastic bag in the fridge until they germinate. So I am capitalising on the cold weather and putting them outside without the bag for the time being until I can sneak them into the fridge. 😉
Once the seedlings appear they have to be transplanted out which i am looking forward to as they grow to such beautiful plants.
By the way, they need to be kept in a light position, but shaded from bright sun. They also need hardening off for 2-3 weeks before placing them out
February 21st, 2009 — Uncategorised
Today I have been digging out a path in my garden. I wanted to have a path to make access to the garage easier so I dug out the dirt and laid a gravel path with guides. It didn’t take as long as I thought it would and putting the gravel in was easy.
In order to create the path I had to use some sturdy guides for the edges so the grass wouldn’t just creep back over it. These were the hard plastic variety that you knock into the soil level with the top of the dirt. They also mean that the path gets less water off the soil. Then I laid a membrane to stop weeds growing back through and put the gravel on top of that.
On the bottom I put larger stones to keep the cost down for the smaller Cotswold gravel on top. That top gravel was 5-10mm in size and you can end up using a lot of that if you are not careful and use the larger stones beneath.
I am quite pleased with it really. It makes my life easier to be honest and that’s why I did it. I also hope that it blends into the garden and doesn’t look too garish.
When it has settled in I will take a photo to show how it no longer looks like a sar on the garden. 🙂
February 17th, 2009 — Uncategorised
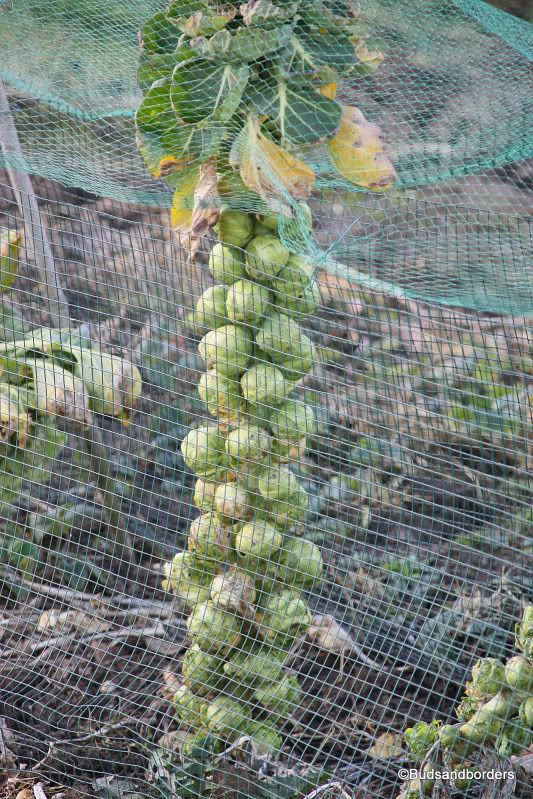
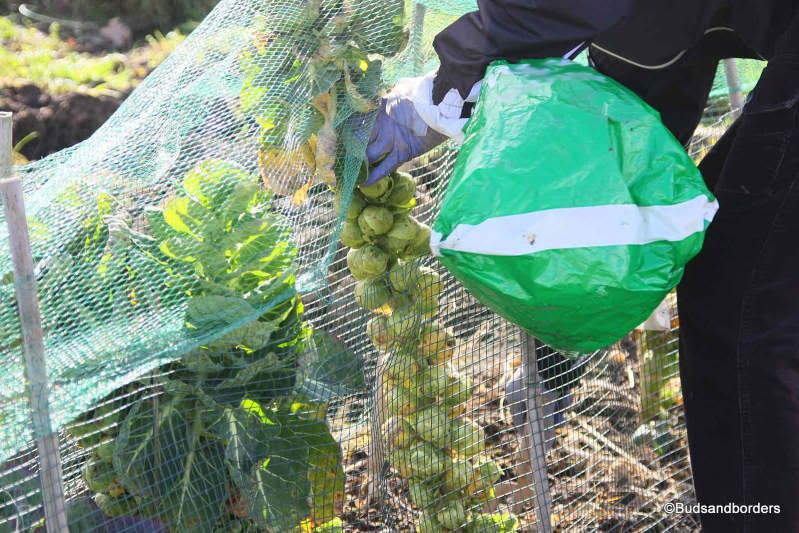
I went to the plot at the weekend, not to do very much, just add to the composter and take some more sprouts. They seem to be going on forever this year. I am surprised they have survived the snow so well, but they have not become bitter or rotted at all. Mind you, next time I will make sure I am being given the correct plants by friends instead of taking it on trust. That way I will have less next year, but more cabbage. 😉


